This post is also available in: Español (Spanish) Português (Portuguese (Brazil))
What Is the Difference Between Calligraphy and Homemade Lettering?
Before picking up a pencil, let’s clear something up:
Calligraphy
Calligraphy is the art of writing with rhythm and structure using specific tools (dip pens, nibs, brushes). Each stroke is an act of writing, not drawing. The result depends greatly on the angle of the tool and pressure applied.
Homemade Lettering
Lettering is more like drawing letters. You can use anything: pencils, markers, even two pencils tied together as I did in one of my pieces. The strokes are constructed with artistic intent and can be decorated with lines, fills or flourishes.
So which should you use? Both. The blend of calligraphy and homemade lettering can create unique results. Let’s explore how.
Materials You’ll Need (Even from Home)
You don’t need to buy everything at once. You can start with:
A regular pencil (or two tied together for a double-line effect)
Smooth or grid paper
Eraser
Ruler (optional)
Brush pen or dip pen (optional for later)
Fineliner for details
Did you know you can mimic Gothic pen strokes using just two pencils?
Step-by-Step: How to Write Calligraphy and Homemade Lettering
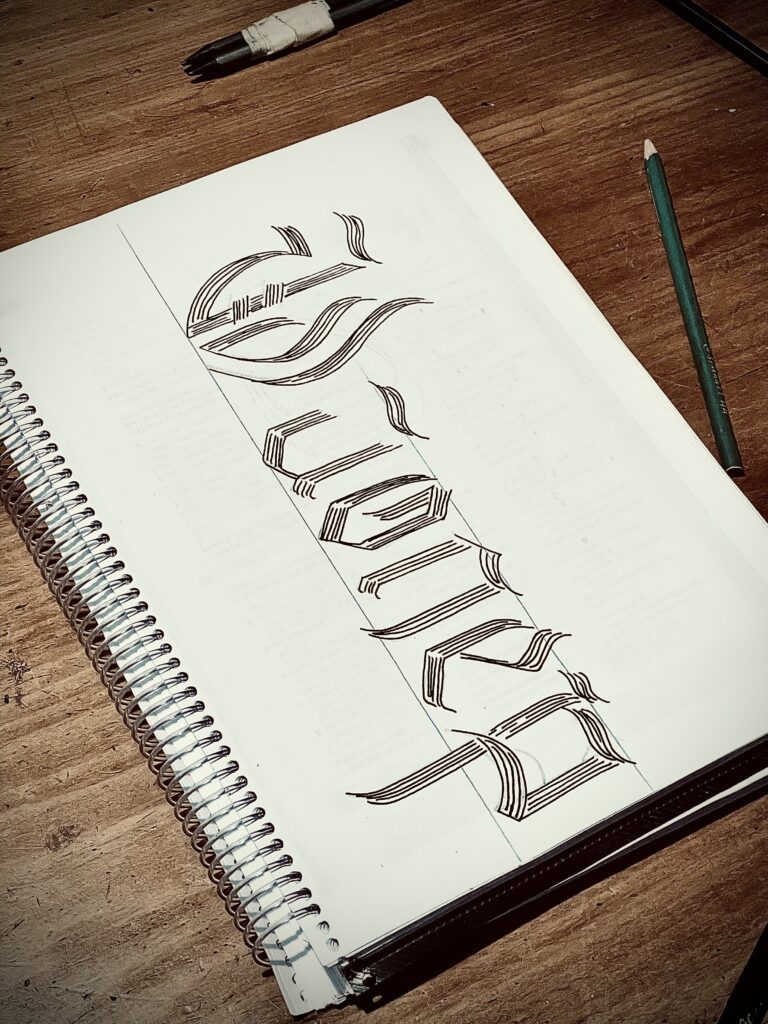
1. Start with the Skeleton (Structure First)
Use a pencil to draw the base structure of each letter. You can follow a Gothic model or invent your own style. For a bold look, use straight lines and sharp angles.
Tip: Mark the vertical axis with a guide line to maintain proportions.
2. Add Contrast to the Strokes
Inspired by Gothic ductus, mark the areas where the stroke would be thicker. Imagine a broad nib writing it. That mental image will help you when filling it in.
3. Use the Double Pencil Method
Tie two pencils together with a rubber band and trace your word. This automatically creates a Gothic-like calligraphic effect, no nib required.
Tried this yet? It’s one of the most fun ways to begin without expensive materials.
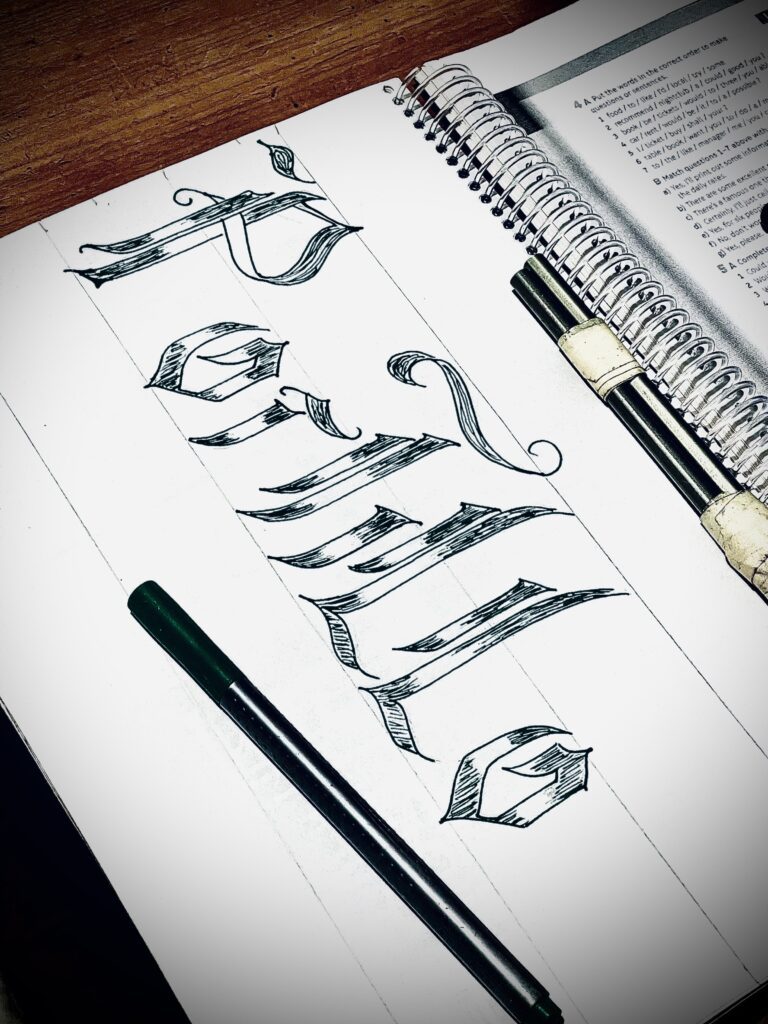
4. Define with a Pen or Dip Pen
You can go over the design with a fineliner or use a dip pen like a Manuscript nib. This adds clarity and a professional finish. At this stage, you can also add small flourishes for decoration.
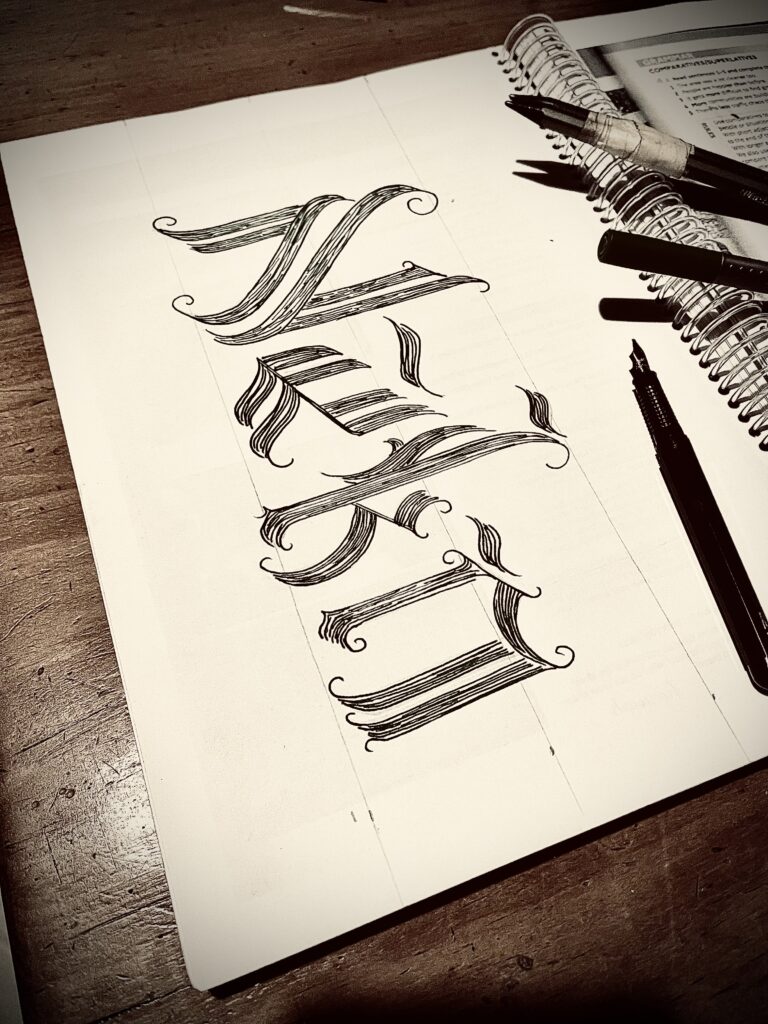
5. Fill the Strokes with Lines
Using a fine marker, fill the thicker strokes with parallel lines that follow their shape. This creates texture and visual movement.
How does it look? Like a hand-drawn logo with artistic intent. Perfect for branding, even if you’re not selling anything.
Practice Tips to Improve Faster
Practise Daily with Basic Strokes
Repeat straight, curved and diagonal lines. Use grid paper to help.
Focus on Letter Groups
Practise similar letters together: m, n, h — then o, c, e.
Copy from Historical Styles
Look for Gothic, Uncial or Copperplate alphabets. Copying them improves your control and expands your visual vocabulary.
Want to go further? Try writing full words in those styles and then decorating them.
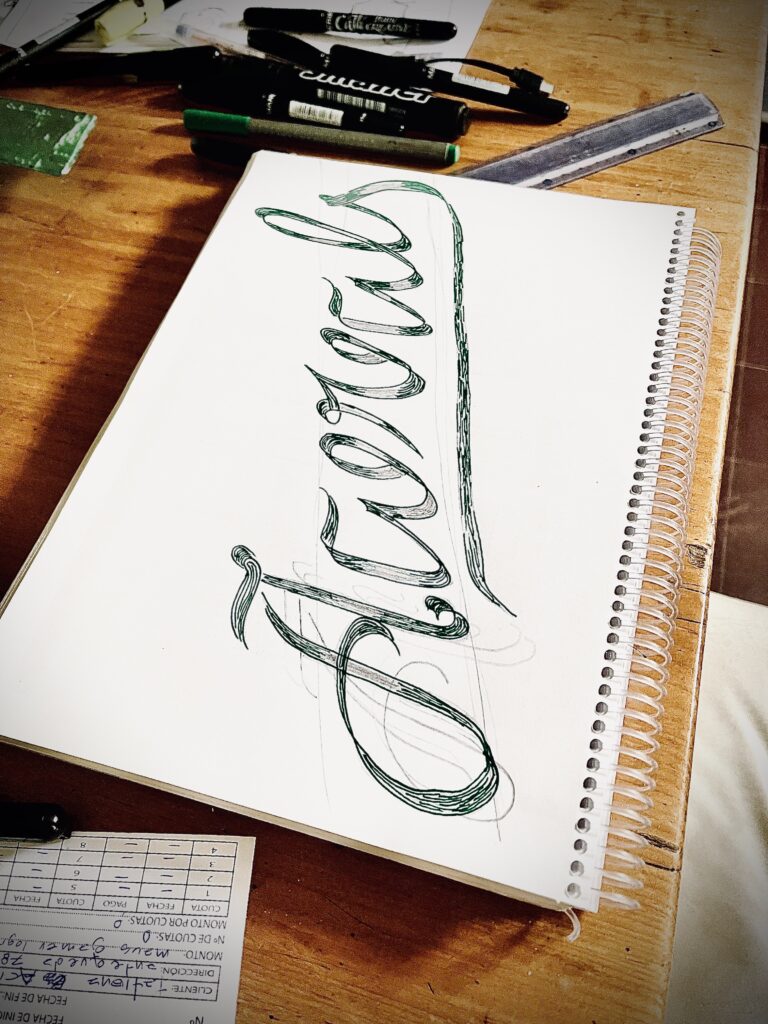
Inspiration: Combining Gothic Ductus with Modern Lettering
My homemade lettering process began with experimenting using two pencils. Then, I studied the logic of Gothic stroke sequences (ductus) and applied that structure to my modern letterforms. The result: unique visual pieces, neither fully calligraphic nor purely lettering — a personal fusion.
Fancy trying something like that with your own words?
Common Mistakes Beginners Make
Applying too much pressure on thin strokes.
Skipping guide lines.
Copying styles without understanding their structure (ductus).
Rushing and not letting the ink dry.
Avoid these with patience, practice and good reference models.
FAQ – Frequently Asked Questions
What is ductus in calligraphy?
It’s the order and direction of strokes when forming a letter. Each style has its own ductus.
Can I do calligraphy without a nib?
Yes! With pencils, brushes or markers. Even with homemade tools like tied pencils.
Can calligraphy and lettering be combined?
Absolutely. You can create calligraphic structures and decorate them like lettering, or the other way around.
Which style is easiest for beginners?
Modern calligraphy or faux calligraphy, which you can do using just a pencil or marker.
Final Thoughts
Learning how to write calligraphy and homemade lettering is more accessible than it seems. You can do it with what you have at home, be inspired by classic styles like Gothic, and add your personal touch. It all begins with the first stroke.
Feeling inspired to give it a go? Leave a comment telling me how it went or share your first attempt. Try to learn whit this channel on YouTube, its the best way to learn